Container Garden Drainage Problems Solutions
Solve your container garden drainage problems with expert solutions! Learn the truth about the gravel myth, choose the right soil, and master watering techniques for healthy, thriving potted plants.
The Ultimate Guide to Container Garden Drainage Problems Solutions
Welcome, fellow urban gardeners! A vibrant container garden is a joy, but it faces a silent threat: poor drainage. Waterlogged soil is the number one enemy of potted plants, leading to root rot, nutrient deficiencies, and eventual plant death. The solution is simpler than you might think, starting with a solid understanding of soil science. This comprehensive guide will walk you through the common pitfalls and provide the definitive container garden drainage problems solutions you need for a flourishing garden.
Quick Summary: Your Drainage Action Plan
Poor drainage is a common but solvable issue. The key is a holistic approach focusing on the container, the soil, and your watering technique. Ensure your pot has adequate, elevated drainage holes. Crucially, use a high-quality, well-aerated potting mix and avoid the common, counterproductive mistake of adding gravel or pot shards to the bottom. Implementing these practical steps will prevent waterlogging, ensure healthy root growth, and provide the best container garden drainage problems solutions for your urban oasis.
The Root of the Problem: Why Drainage Fails
Understanding why water gets stuck in your containers is the first step toward fixing the issue. It is often a combination of factors related to the container and the materials you use. Many traditional "fixes" for drainage are actually counterproductive, which is why so many gardeners struggle with this issue.
The Critical Role of Drainage Holes
A container must have drainage holes. These are essential not just for letting excess water out, but for allowing air to get in. Plant roots require oxygen, and saturated soil displaces air pockets, creating anaerobic conditions where root rot fungi thrive. If a decorative pot lacks holes, you must drill them or use the pot as a cachepot, placing a functional, draining pot inside it.
The Drainage Material Myth: The Perched Water Table
The perched water table is the most persistent and damaging myth in container gardening. Many are advised to place a layer of coarse material—like gravel or broken pottery—at the bottom to "improve drainage," but this is scientifically unsound and makes the problem worse [1]. Water does not move easily from fine potting mix into coarse material like gravel due to the soil interface [1]. The gravel acts like a sponge, raising the water table and creating a zone of perpetually waterlogged soil directly above it, inducing the very waterlogging you were trying to prevent. The only thing that truly improves drainage is the quality of the soil itself.
The Wrong Soil Choice
Using garden soil, topsoil, or compost meant for in-ground beds in containers is a common mistake. These materials compact quickly and severely when confined to a pot, eliminating the vital air pockets roots need and turning the container into a dense, water-retaining block. Always choose a dedicated, high-quality potting mix specifically formulated for containers. These mixes are lighter, resist compaction, and provide the necessary balance of water retention and aeration.
Proactive Solutions: Setting Up Your Container for Success
The best way to deal with drainage problems is prevention. By making smart choices about your container, soil, and setup, you can create a drainage system that works perfectly for your plants.
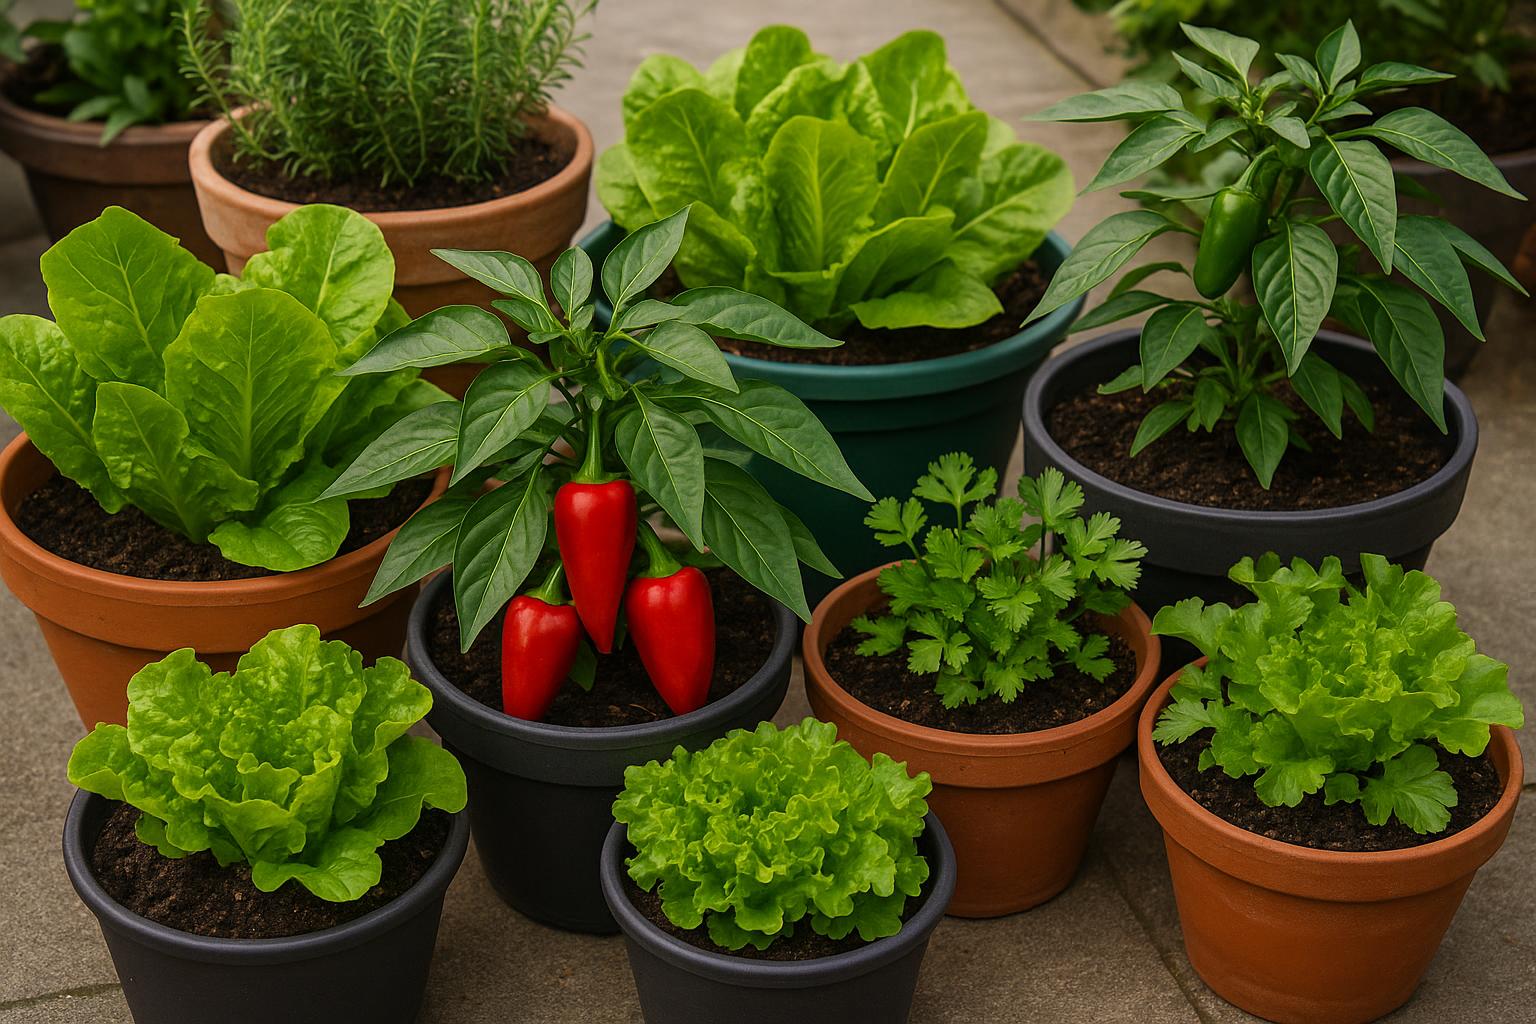
Choosing the Right Container
The material and size of your container significantly impact moisture management. Porous materials like unglazed terracotta wick moisture away, beneficial in humid climates. Plastic and glazed ceramic pots retain moisture longer, ideal for hot climates but requiring careful watering. Fabric grow bags offer excellent aeration and drainage, making overwatering nearly impossible. Deeper containers naturally drain better than shallow ones, as a taller column of soil allows gravity to pull water down more effectively, keeping the root zone drier.
The Perfect Potting Mix Recipe
The soil is the real key to drainage. A good potting mix must be light, fluffy, and full of air pockets. Start with a high-quality, peat moss or coir-based commercial potting mix. To dramatically improve drainage, add coarse, inorganic materials (product types, not brands) such as Perlite (lightweight volcanic glass), Pumice or Horticultural Grit (heavier, porous rock materials), and Aged Bark Fines (small pieces of aged bark). A fast-draining mix often uses a ratio of approximately 2 parts base mix to 1 part aeration amendment, ensuring water moves quickly and prevents saturation.
Elevate Your Containers
Even a container with perfect drainage holes can fail if it sits flat on a solid surface. When a pot sits directly on a patio or deck, surface tension can seal the drainage holes, preventing water from escaping. It is crucial to elevate your containers. Use simple solutions like pot feet, ceramic risers, or small wooden blocks to lift the container by at least half an inch. This small gap allows air to circulate and ensures water can freely drip out, providing a simple yet highly effective container garden drainage problems solutions.
Solving Existing Container Garden Drainage Problems Solutions
If you are reading this, you might already have a waterlogged plant on your hands. Don't panic! There are several actionable steps you can take to save your plant and fix the drainage issue immediately.
Unclogging and Clearing Blockages
Sometimes, the problem is as simple as a blocked drainage hole. Fine soil particles or even roots can sometimes plug the exit.
- The Chopstick Method: Gently insert a thin object, like a chopstick, a wire coat hanger, or a long skewer, up through the drainage hole from the bottom. Wiggle it around to dislodge any compacted soil or debris.
- Check for Root Overgrowth: If you see roots growing out of the drainage hole, the plant is likely root-bound. This can block drainage and requires repotting into a larger container.
Emergency Drainage for Waterlogged Plants
When a plant is severely waterlogged, act fast to remove excess moisture. Use The Tilt and Wait Method by gently tilting the container on its side for 30 minutes to encourage drainage. Alternatively, use The Absorbent Method by placing the pot on a thick stack of newspaper or a towel to wick moisture out. The most effective solution is Repotting: gently remove the plant, prune away any mushy, foul-smelling roots (root rot), shake off saturated soil, and repot into a clean container with fresh, dry, fast-draining potting mix.
Addressing the Perched Water Table
If you have already added gravel, you have two choices: repot the plant and remove the gravel, or try the "Wick" method. The Wick method involves inserting a piece of nylon stocking, felt, or braided cotton rope through the drainage hole. One end is in the soil, and the other hangs out the bottom. This wick acts as a bridge, allowing capillary action to pull water out of the saturated zone and drip it away, effectively lowering the perched water table.
Common Mistakes to Avoid (Beyond Gravel)
Even with the perfect setup, poor technique can lead to drainage issues. Avoiding these common mistakes is a vital part of the long-term container garden drainage problems solutions.
Overwatering and Inconsistent Watering
The most common cause of drainage problems is simply giving the plant too much water, too often. Never water on a schedule. Use The Finger Test by checking the soil moisture two inches deep, or use a simple, inexpensive Moisture Meter (a type of gardening tool) to eliminate guesswork. When you do water, use the Watering Technique of watering deeply and thoroughly until water runs freely out of the drainage holes, ensuring the entire root ball is saturated. Wait until the top layer of soil has dried out before watering again.
Using a Saucer Incorrectly
Saucers are great for protecting surfaces, but they can quickly negate drainage efforts if used improperly. Leaving the pot sitting in a pool of water in the saucer for an extended period allows water to be wicked back up into the soil, keeping the bottom perpetually saturated and inviting root rot. Always empty the saucer about 30 minutes after watering.
Ignoring Root Health
Your plant will give clear signals when drainage is poor. Yellowing leaves, wilting even when the soil is wet, and a general lack of vigor are all signs of a struggling root system. A foul, sulfurous smell from the soil is a sure sign of anaerobic conditions and severe root rot. At this point, you must unpot the plant and inspect the roots immediately.
Long-Term Success with Container Garden Drainage Problems Solutions
A successful container garden requires ongoing attention. By integrating these best practices, you ensure your plants remain healthy and productive. The right soil, the right pot, and the right watering technique is the ultimate formula for success. Implementing these container garden drainage problems solutions is a commitment to better gardening habits that will pay off with a thriving urban garden.
Conclusion: Grow With Confidence
Don't let drainage issues discourage you from enjoying urban gardening. By understanding the science and avoiding the common myths, you are now equipped to tackle any waterlogging problem. Mastering drainage is a major milestone for any container gardener.
Now that you have the perfect plan for your pots, we encourage you to use the Urban Grow Planner tool to map out your containers, track your watering schedule, and ensure your plants get exactly what they need, every time. Happy gardening!
References
[1] Linda Chalker-Scott, Ph.D., WSU Extension Horticulturist. The Myth of Drainage Material in Container Plantings. https://wpcdn.web.wsu.edu/wp-puyallup/uploads/sites/403/2015/03/container-drainage.pdf [2] Oklahoma State University Extension. Container Gardening. https://extension.okstate.edu/fact-sheets/container-gardening.html
Related Articles
How To Start Urban Farming For Beginners
Ready to grow your own food? Learn how to start urban farming for beginners with this comprehensive guide on planning, small-space techniques, essential equipment, and common mistakes to avoid.
Balcony Garden Ideas For Beginners
Discover the ultimate balcony garden ideas for beginners! Learn how to maximize small spaces with vertical gardening, choose the best easy-to-grow plants, and avoid common mistakes. Start your urban oasis today!
Container Gardening For Beginners Step By Step
Start your urban garden with this step-by-step guide to container gardening for beginners. Learn about choosing pots, soil, plants, watering, and avoiding common mistakes.
How To Grow Vegetables On Apartment Balcony
Learn how to grow vegetables on apartment balcony with this ultimate guide. Get tips on sun, containers, soil, and the best compact crops for a successful urban garden.