How To Grow Radishes In Pots
Learn how to grow radishes in pots with this comprehensive guide for urban gardeners. Get expert tips on soil, watering, thinning, and avoiding common mistakes for a crisp, fast harvest.
The Ultimate Guide to Growing Crisp, Peppery Radishes in Pots
Quick Summary: Your Fast Track to Container Radishes
Radishes are the ultimate instant gratification crop for the urban gardener. They are incredibly fast-growing, often ready for harvest in under a month, and their shallow root system makes them perfectly suited for container gardening on balconies, patios, or even sunny windowsills. Learning how to grow radishes in pots is a simple, rewarding process that bypasses many of the challenges of a traditional garden bed. This comprehensive guide will walk you through every step, from selecting the right container and soil to mastering the watering technique that guarantees a crisp, delicious harvest. Get ready to enjoy the satisfying crunch of homegrown radishes!
Why Container Gardening is Perfect for Radishes
Radishes are a cool-season crop that thrives on speed and efficiency, two qualities that align perfectly with container gardening. Their rapid growth cycle, typically just three to four weeks from seed to table, means you can enjoy multiple harvests in a single season. This quick turnaround is a major advantage for gardeners with limited space.
Because radishes do not require deep soil to develop their edible root, they are ideal candidates for shallow containers. Growing them in pots also gives you complete control over the soil environment, ensuring it is loose and well-draining—conditions essential for a perfectly formed root. Furthermore, the mobility of containers allows you to easily move your plants to a shadier spot when the summer heat arrives, preventing the premature bolting that can ruin a crop.
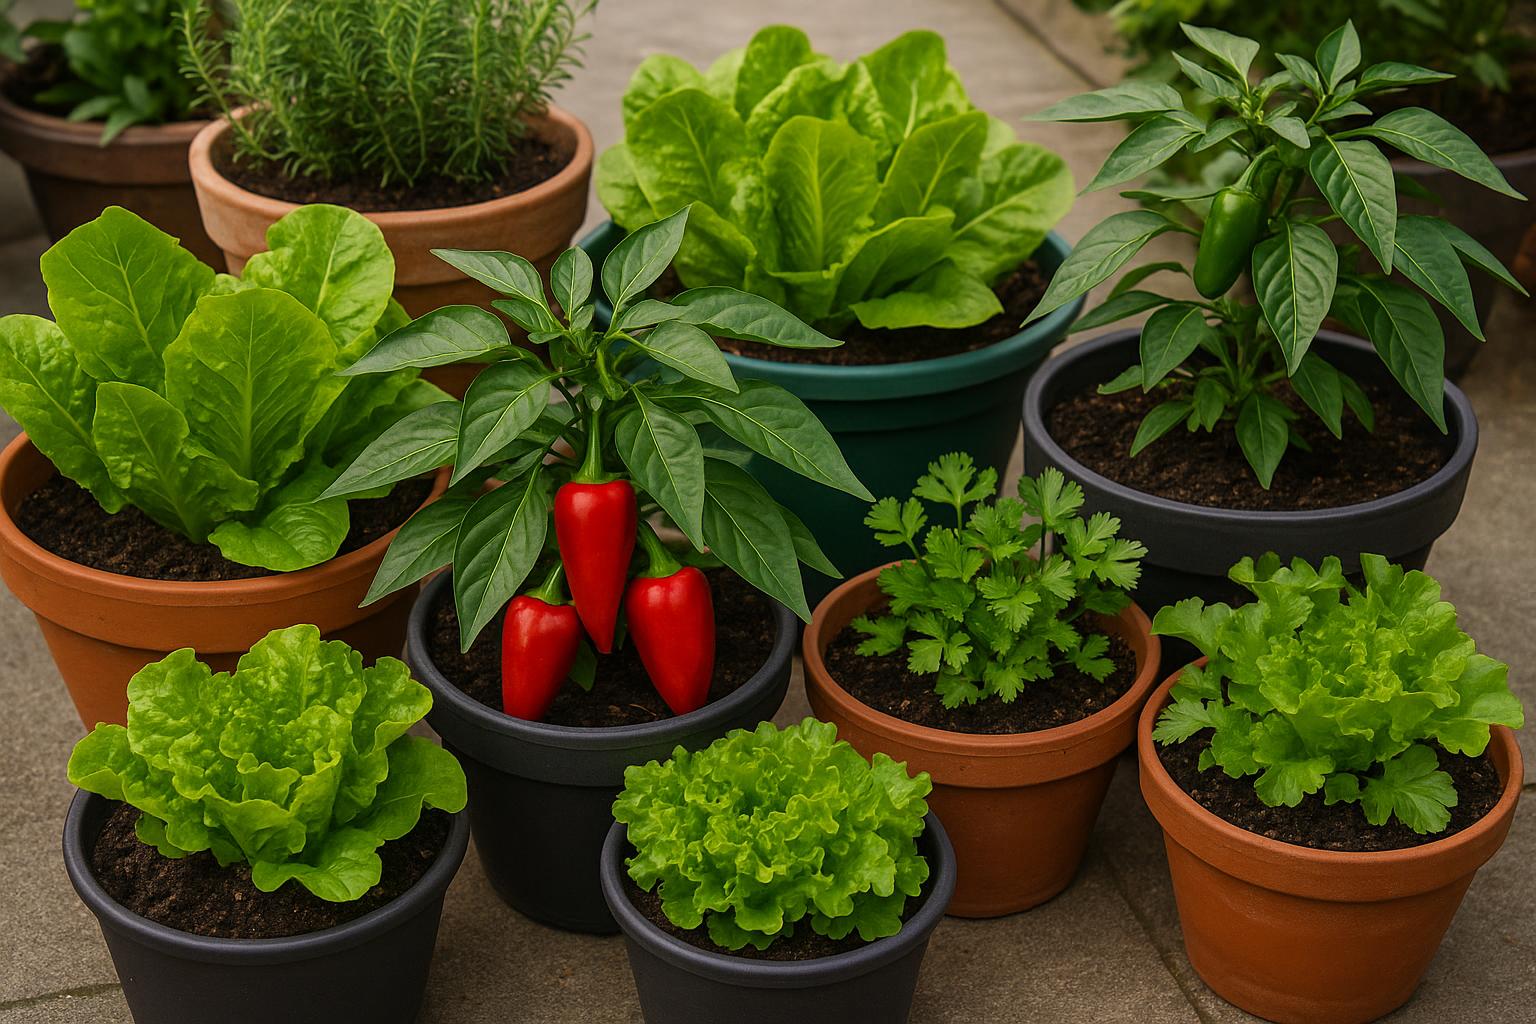
Choosing the Right Setup for Your Potted Radishes
The success of your radish crop begins with selecting the appropriate home for your seeds. The right container and soil mix will provide the necessary environment for the roots to swell and develop properly.
Selecting the Perfect Pot
While radishes are shallow-rooted, the container you choose still needs to meet a few specific criteria. A minimum depth of 6 inches is necessary to accommodate the root and provide enough soil volume to retain moisture, but an 8- to 10-inch deep pot offers a safer buffer for root development and watering consistency.
Crucially, you should prioritize width over depth. Radishes are planted close together, and a wider container, such as a shallow terracotta bowl, a plastic window box, or a fabric grow bag, allows you to sow more seeds at once. Regardless of the material, the container must have excellent drainage holes to prevent waterlogging, which is fatal to radishes. Terracotta pots look beautiful but dry out quickly, requiring more frequent watering, while plastic or glazed pots retain moisture longer.
The Ideal Soil Mix
The quality of your soil is perhaps the single most important factor in growing crisp radishes. The roots need to push through the medium easily to form a round shape, meaning heavy, compacted soil is your enemy. Do not use soil dug directly from your garden, as it is too dense and can introduce pests and diseases.
Instead, use a high-quality, sterile, and loose potting mix designed for containers. This type of mix is light and airy, promoting the necessary root expansion. You can improve the mix by blending in a small amount of well-aged compost. This addition will help with both nutrient retention and moisture management, creating the perfect fluffy environment for your radishes to thrive.
Step-by-Step Planting Guide: Mastering the Seed
Radishes are one of the easiest vegetables to start from seed, but a few key techniques are essential for a successful harvest. Getting the timing and spacing right will ensure you grow roots, not just leafy tops.
Timing Your Planting
Radishes are a cool-season crop, meaning they prefer the mild temperatures of spring and fall. Their ideal growing range is between 50°F and 65°F. Planting them during the intense heat of summer will cause them to "bolt," or prematurely send up a flower stalk, which makes the root woody, hot-tasting, and inedible.
For a continuous supply, practice succession planting. Sow a small batch of seeds every 7 to 10 days, starting a few weeks before your last expected spring frost. Stop planting when temperatures consistently rise above 70°F, and then resume planting in late summer for a fall harvest.
Sowing and Thinning
Radishes must be direct-sown into their final container; they do not transplant well and disturbing their roots will stunt their growth. Sow the seeds thinly, about 1/2 inch deep, and cover them lightly with soil. Keep the soil consistently moist, and you should see germination within three to seven days.
The most critical step in learning how to grow radishes in pots is thinning. Once your seedlings have developed their first set of true leaves (the second set of leaves to appear), you must thin them out. Gently snip or pull the weaker seedlings, leaving the strongest plants spaced about 2 to 3 inches apart. This may feel wasteful, but it is absolutely necessary. Overcrowding is the number one reason for small, misshapen, or non-existent radish roots.
Essential Care for Potted Radishes
Once your radishes are planted, their care routine is straightforward, focusing primarily on consistent moisture and appropriate light exposure. These two factors directly influence the crispness and flavor of your final product.
Watering: The Key to Crispness
Consistent watering is non-negotiable for radishes. They need a steady supply of moisture to swell quickly and evenly. The soil in your pots should be kept consistently moist, similar to a wrung-out sponge, but never waterlogged.
Inconsistent watering is a common cause of failure. If the soil is allowed to dry out and then is heavily watered, the sudden rush of moisture can cause the developing roots to crack or split. Conversely, if the soil is kept too dry, the radishes will grow slowly, becoming tough, woody, and excessively hot or spicy in flavor. Since pots dry out much faster than garden beds, especially on hot or windy days, you may need to check and water them daily.
Light and Temperature Requirements
Radishes require at least six hours of direct sunlight per day to grow vigorously. However, they are sensitive to heat, so a location that receives morning sun and afternoon shade is often ideal, particularly as the season warms up.
As mentioned, temperatures between 50°F and 65°F are optimal. If a heatwave is predicted, use the mobility of your containers to your advantage. Move the pots to a cooler, shadier location until the temperatures drop. This simple action can prevent bolting and save your entire crop.
Fertilizing (Less is More)
For a crop that matures in less than a month, the nutrients already present in a high-quality potting mix are usually sufficient. Radishes are root vegetables, and they do not require a lot of fertilizer, especially nitrogen.
Too much nitrogen encourages lush, beautiful leafy growth at the expense of the root, resulting in a large top and a tiny, underdeveloped radish below the soil. If you feel your plants need a boost, use a balanced, low-nitrogen liquid fertilizer, such as a 5-10-10 formulation, applied only once when the plants are about halfway through their growth cycle.
Troubleshooting and Common Mistakes to Avoid
Even with the best intentions, urban gardening can present a few challenges. Being aware of the most common mistakes and how to address them will significantly increase your chances of a bountiful harvest.
Mistake 1: Not Thinning
This is the most frequent error made by new radish growers. When seedlings are left too close together, they compete fiercely for light, water, and nutrients. The result is a dense patch of leaves and many tiny, stringy, or misshapen roots that never fully develop. Remember to thin your seedlings to a 2- to 3-inch spacing to give each plant the room it needs to swell into a perfect radish.
Mistake 2: Inconsistent Watering
As detailed earlier, fluctuating moisture levels are detrimental to radish quality. A dry period followed by heavy watering causes the roots to grow too quickly, leading to cracking. Prolonged dryness results in a woody texture and an unpleasantly sharp, hot flavor. Maintain a consistent moisture level to ensure a mild, crisp, and smooth-skinned radish.
Mistake 3: Planting in Hot Weather
High temperatures signal to the radish plant that its life cycle is ending, prompting it to bolt. Once a radish bolts, the energy shifts from root production to flower and seed production, making the root tough and bitter. Stick to the cool seasons of spring and fall, and use your container's mobility to protect your crop from unexpected heat spikes.
Pest and Disease Management
Radishes are generally pest-resistant, but a few common garden pests can find their way to your containers. Flea beetles are tiny, black insects that chew small "shot-holes" in the leaves. While a few holes won't harm the root, a heavy infestation can stunt growth. You can deter them with a lightweight row cover placed over the pot or by applying an organic insecticide like neem oil. Damping off is a fungal disease that causes seedlings to collapse at the soil line; this is usually a sign of overwatering and poor drainage, so ensure your pots drain freely.
By avoiding these pitfalls, you will have mastered the most important aspects of how to grow radishes in pots and are well on your way to a successful harvest.
Harvesting Your Potted Radishes
The final, most satisfying step is the harvest. Radishes are one of the fastest crops, and you should begin checking them just three weeks after planting, depending on the variety you chose.
When to Harvest
The best way to determine if a radish is ready is to look at its "shoulder." Gently brush away the soil around the base of the stem to see the top of the root. When the root has reached the desired size for the variety you planted—typically about an inch in diameter for most round varieties—it is ready to be pulled. Do not wait too long, as over-mature radishes become pithy, spongy, and lose their desirable crispness.
The Harvesting Method
To harvest, simply grasp the leaves near the base and gently pull the radish straight up out of the soil. If you planted a row, you can harvest them selectively, taking the largest ones and leaving the smaller ones to grow for a few more days. Once you pull a radish, immediately replant a new seed in its place to keep your continuous harvest going. This practice, known as succession planting, is easy to maintain in a container garden.
Conclusion: Your Container Radish Journey Begins Now
Growing radishes in pots is a truly rewarding experience that proves you don't need a large garden to enjoy fresh, homegrown produce. With the right container, the perfect soil, and a commitment to consistent watering, you can easily achieve a continuous supply of crisp, peppery roots right on your patio or balcony. You now possess all the practical knowledge needed to move from seed to a satisfying harvest.
Start planning your next container garden today and make the most of your urban space. Use the Urban Grow Planner tool to map out your succession planting schedule and track your progress for an endless supply of fresh vegetables!
Related Articles
How To Start Urban Farming For Beginners
Ready to grow your own food? Learn how to start urban farming for beginners with this comprehensive guide on planning, small-space techniques, essential equipment, and common mistakes to avoid.
Balcony Garden Ideas For Beginners
Discover the ultimate balcony garden ideas for beginners! Learn how to maximize small spaces with vertical gardening, choose the best easy-to-grow plants, and avoid common mistakes. Start your urban oasis today!
Container Gardening For Beginners Step By Step
Start your urban garden with this step-by-step guide to container gardening for beginners. Learn about choosing pots, soil, plants, watering, and avoiding common mistakes.
How To Grow Vegetables On Apartment Balcony
Learn how to grow vegetables on apartment balcony with this ultimate guide. Get tips on sun, containers, soil, and the best compact crops for a successful urban garden.