How To Grow Tomatoes In Containers For Beginners
Learn how to grow tomatoes in containers for beginners with this comprehensive guide. Get tips on choosing the right pot size, soil, watering, and avoiding common mistakes for a successful urban harvest.
How to Grow Tomatoes in Containers for Beginners: Your Ultimate Guide to a Bountiful Harvest
Quick Summary: Growing flavorful tomatoes in containers is ideal for urban gardeners and beginners. Success depends on three key factors: choosing the right container size (10+ gallons is best), using a high-quality potting mix (not garden soil), and maintaining consistent watering. Select a sturdy variety, provide support (cage/stake), and feed regularly. Avoid small pots and inconsistent moisture to ensure a bountiful harvest.
The Urban Gardener's Dream: Why Grow Tomatoes in Containers?
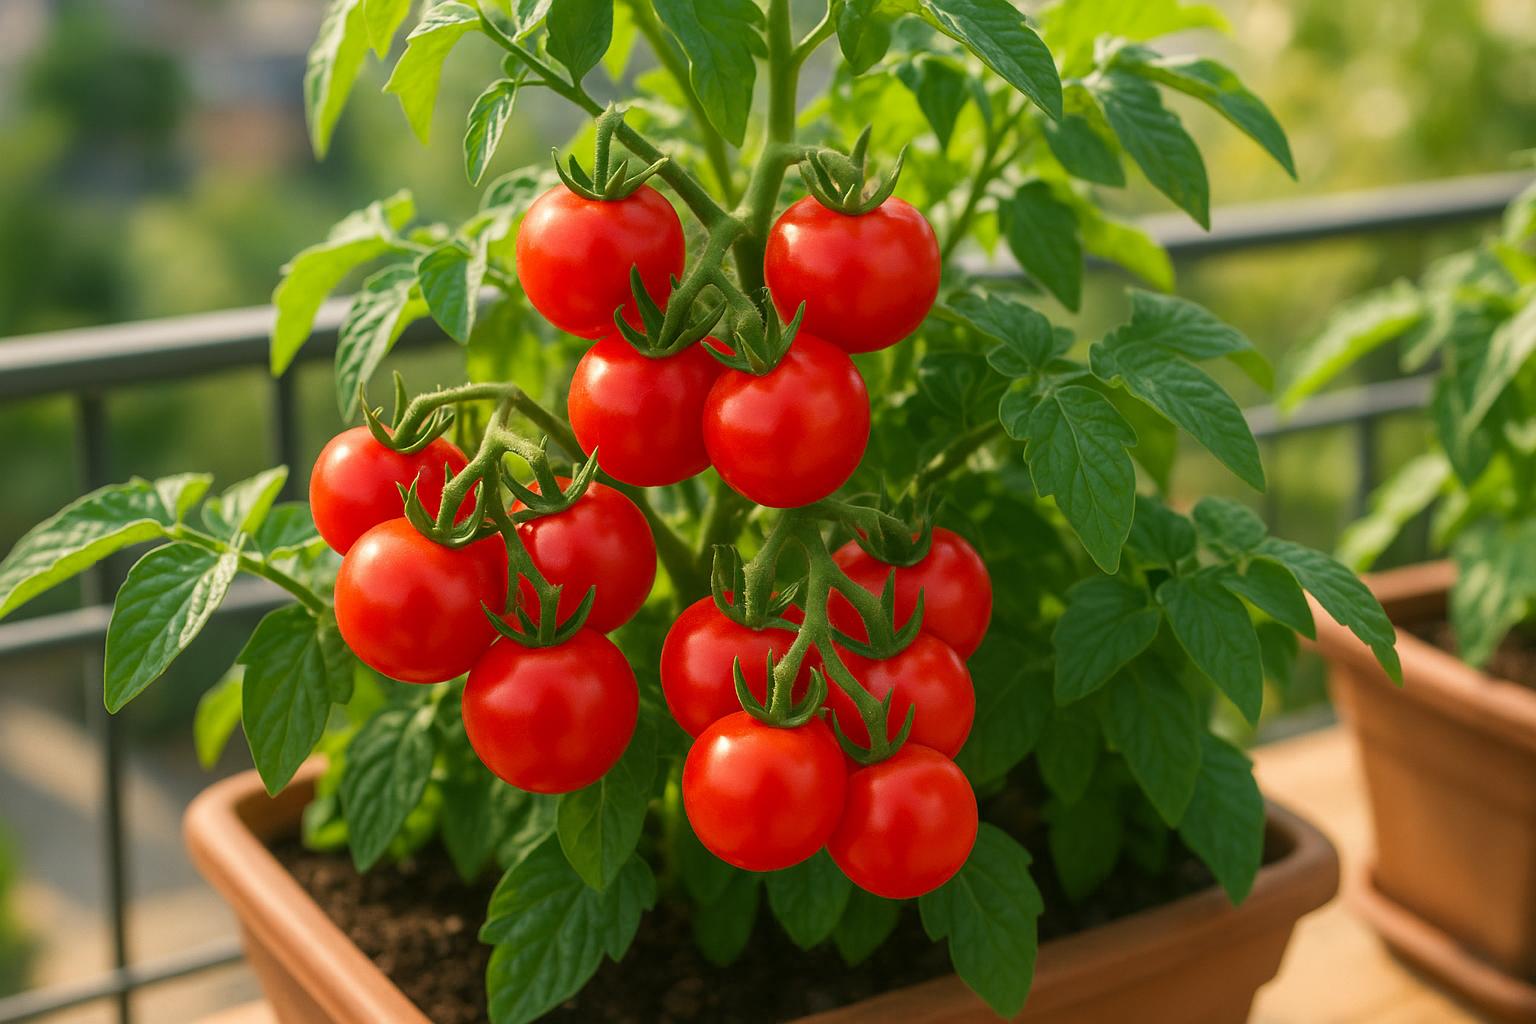
Container gardening is the ultimate solution for small spaces—balconies, patios, or rooftops. It saves space and gives you complete control over soil quality and drainage, which are crucial for healthy tomato plants.
This guide is designed to teach you how to grow tomatoes in containers for beginners. We’ll walk you through every step, from selecting your variety to harvesting your first fruit.
Phase 1: Preparation is Key
Getting your supplies right is the most important step for a successful tomato harvest.
Choosing the Right Tomato Variety
Tomatoes are categorized into two main types:
- Determinate (Bush): These plants grow to a set height, produce fruit all at once, and then stop. They are compact, require less staking, and are good for beginners (aim for at least 5 gallons).
- Indeterminate (Vining): These plants continue to grow and produce fruit throughout the season until frost. They require more support and a much larger container.
Beginner Tip: Start with a determinate variety or a smaller-fruited indeterminate like a cherry tomato. Look for varieties labeled "patio" or "dwarf."
Selecting the Perfect Container
The biggest mistake beginners make is choosing a container that is too small. Tomatoes are heavy feeders and drinkers, and their roots need room to grow. Always choose the largest container you can accommodate.
Product Recommendation: Container Types and Sizes
| Tomato Type | Minimum Container Size | Recommended Container Size | Ideal Material |
|---|---|---|---|
| Determinate | 5 gallons (12 inches wide/deep) | 7-10 gallons | Plastic, Fabric Grow Bags |
| Indeterminate | 10 gallons (14 inches wide/deep) | 15-20 gallons | Fabric Grow Bags, Large Plastic Tubs |
Why Bigger is Better: A larger container provides a buffer against temperature fluctuations and prevents the soil from drying out too quickly. Always err on the side of a larger pot.
Drainage is Non-Negotiable: Whatever you choose, the container must have drainage holes at the bottom. If it doesn't, drill several holes yourself. Tomatoes hate "wet feet."
The Importance of Potting Mix
Do not use garden soil, topsoil, or soil dug up from your yard. These soils compact easily, preventing proper drainage and suffocating the roots.
Product Recommendation: Soil and Amendments
- High-Quality Potting Mix: Look for a light, airy mix specifically labeled for containers, containing ingredients like peat moss, coco coir, or perlite for excellent drainage and aeration.
- Compost: Mix in a few handfuls of well-aged compost or worm castings for slow-release nutrients and moisture retention.
- Slow-Release Fertilizer: Incorporate a granular, slow-release fertilizer into the mix before planting. Look for one balanced for vegetables.
Phase 2: Planting and Initial Care
It’s time to get your tomato plant into its new home.
The Deep Planting Technique
Tomatoes can grow roots directly from their stems. This deep planting technique is a huge advantage for container growing, creating a stronger, more resilient plant.
- Prepare the Plant: Gently remove the lower leaves from the bottom two-thirds of the tomato stem.
- Fill the Container: Fill your container halfway with potting mix.
- Plant Deep: Place the plant so the bottom leaves are just above the soil line. The buried stem will develop new roots.
- Fill and Water: Fill the rest of the container with soil, leaving an inch of headspace for watering. Water thoroughly until it drains from the bottom.
Sun and Location Requirements
Tomatoes are sun-worshippers. They need a minimum of 6 hours of direct sunlight per day, but ideally 8 or more.
- Location: Place your containers in the sunniest spot on your balcony, patio, or deck.
- Heat: Containers can get very hot. In intense summer heat, consider placing your containers on a light-colored surface or using light-colored pots to reflect heat away from the roots.
Providing Essential Support
As your tomato plant grows, it will need support to hold up the heavy fruit and prevent the stem from snapping. This is especially true for indeterminate varieties.
Product Recommendation: Support Structures
- Tomato Cages: Choose a heavy-duty, tall cage. Short cages are often inadequate for a full-sized tomato plant.
- Stakes: Use sturdy wooden or metal stakes. Drive the stake into the pot at planting time. Tie the main stem loosely to the stake as the plant grows.
- Trellis: For indeterminate varieties, a simple vertical trellis against a wall can provide excellent support.
Phase 3: Ongoing Care for a Bountiful Harvest
Consistent care is the secret to a great harvest.
Watering: The Most Critical Step
Inconsistent watering is the number one cause of problems when you grow tomatoes in containers for beginners. Containers dry out faster than in-ground gardens, so you will likely need to water daily, or even twice a day in hot weather.
- Consistency: Keep the soil consistently moist, like a wrung-out sponge. Never let it completely dry out, and never let it sit in standing water.
- How to Check: Stick your finger two inches deep into the soil. If it feels dry, it’s time to water.
- Watering Technique: Water slowly and deeply until water runs out of the drainage holes to ensure the entire root ball is saturated.
Feeding Your Hungry Plants
Tomatoes are heavy feeders and quickly deplete container nutrients. Regular feeding is essential.
- Initial Feed: A slow-release fertilizer mixed into the soil at planting is a great start.
- Regular Feed: Once the plant starts to flower and set fruit, switch to a liquid fertilizer applied every 1-2 weeks. Look for a fertilizer with a slightly lower first number (Nitrogen) and higher second and third numbers (Phosphorus and Potassium), such as a 5-10-10. Too much nitrogen encourages leafy growth at the expense of fruit.
Pruning and Maintenance
Pruning helps improve air circulation, reduces the risk of disease, and directs the plant's energy into fruit production.
- Suckers: These are small shoots that grow in the "V" where a leaf branch meets the main stem. Pinching these off helps the plant focus its energy.
- Lower Leaves: Once the plant is established, remove any leaves that touch the soil. This prevents soil-borne diseases from splashing up onto the foliage.
Phase 4: Common Mistakes to Avoid
Avoiding these common pitfalls will dramatically increase your chances of success when you grow tomatoes in containers for beginners.
Mistake 1: Containers That Are Too Small
- The Problem: Small pots restrict root growth, dry out rapidly, and lead to nutrient deficiencies. This results in stunted plants and Blossom End Rot (a black, sunken spot on the bottom of the fruit), often caused by inconsistent watering and calcium uptake issues.
- The Fix: Use the recommended container sizes (10+ gallons is ideal).
Mistake 2: Inconsistent Watering
- The Problem: Fluctuations between dry and wet soil stress the plant and are the primary cause of fruit cracking and Blossom End Rot.
- The Fix: Check the soil daily and water consistently. Consider using a self-watering container or a simple drip irrigation system for better moisture control.
Mistake 3: Using Garden Soil
- The Problem: Garden soil is too dense for containers. It compacts, prevents drainage, and can introduce pests and diseases.
- The Fix: Always use a light, well-draining potting mix designed for containers.
Mistake 4: Not Providing Support
- The Problem: Heavy fruit will cause the stems to bend, break, or sprawl onto the ground, making them vulnerable to pests and disease.
- The Fix: Install a sturdy cage or stake at planting time.
Mistake 5: Not Enough Sun
- The Problem: Lack of sunlight leads to weak, leggy plants that produce very little fruit.
- The Fix: Ensure your container is placed in a spot that receives a minimum of 6-8 hours of direct, unfiltered sunlight every day.
Phase 5: Harvesting Your Bounty
The final, and most rewarding, step is the harvest.
Tomatoes are ready to pick when they are fully colored and firm to the touch. Gently twist or cut the tomato from the vine, leaving the small green stem (calyx) attached. This helps the fruit stay fresh longer.
Enjoy the unparalleled flavor of your homegrown tomatoes!
Ready to Plan Your Best Garden Yet?
You now have all the knowledge you need to successfully grow tomatoes in containers for beginners. The next step is to put your plan into action!
To help you organize your planting schedule, track your watering and feeding, and manage your urban space, we encourage you to use the Urban Grow Planner tool.
Happy gardening!
Related Articles
How To Start Urban Farming For Beginners
Ready to grow your own food? Learn how to start urban farming for beginners with this comprehensive guide on planning, small-space techniques, essential equipment, and common mistakes to avoid.
Balcony Garden Ideas For Beginners
Discover the ultimate balcony garden ideas for beginners! Learn how to maximize small spaces with vertical gardening, choose the best easy-to-grow plants, and avoid common mistakes. Start your urban oasis today!
Container Gardening For Beginners Step By Step
Start your urban garden with this step-by-step guide to container gardening for beginners. Learn about choosing pots, soil, plants, watering, and avoiding common mistakes.
How To Grow Vegetables On Apartment Balcony
Learn how to grow vegetables on apartment balcony with this ultimate guide. Get tips on sun, containers, soil, and the best compact crops for a successful urban garden.