Yellowing Leaves On Container Vegetables
Stop yellowing leaves on container vegetables! Learn the top 5 causes—watering, nutrient deficiency (iron, nitrogen), pests, and more—with actionable fixes for a healthy, green urban garden.
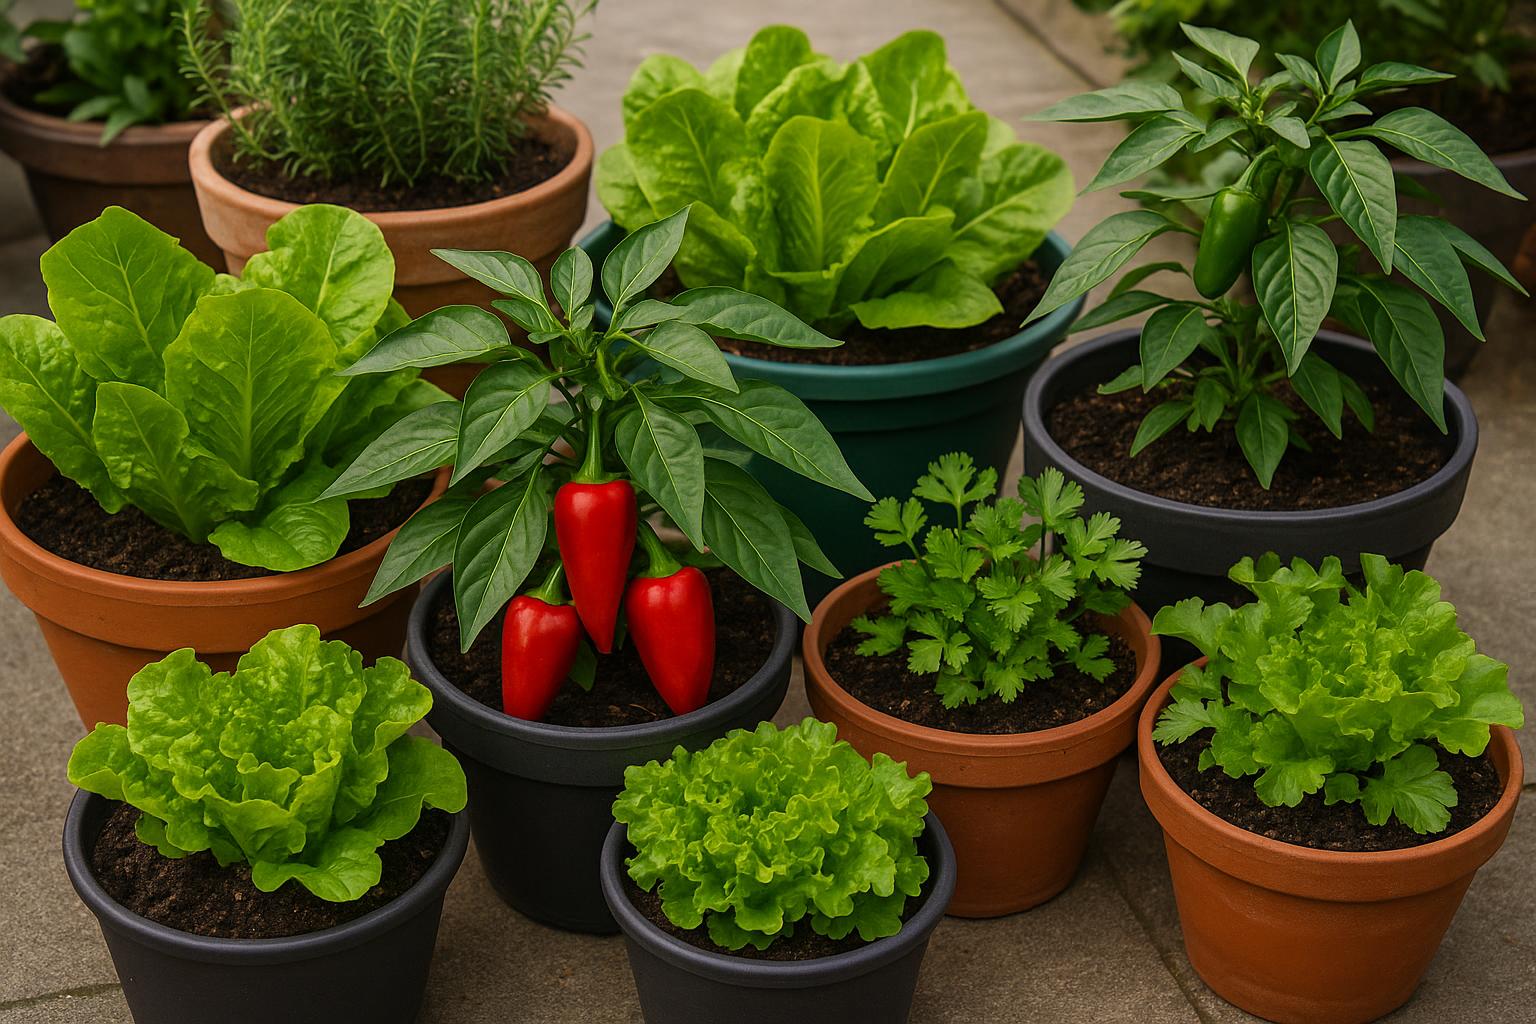
Stop the Yellowing Leaves on Container Vegetables: Your Ultimate Guide to Green, Healthy Plants
Quick Summary: Seeing yellowing leaves on container vegetables is a common and often frustrating problem for urban gardeners. The good news is that this symptom, known as chlorosis, is usually a sign that your plant needs a simple adjustment in its care routine. This comprehensive guide will walk you through the top five causes—from watering woes and nutrient deficiencies to pests and environmental stress—and provide actionable, practical steps to diagnose and fix the issue, ensuring your container garden thrives and produces a bountiful harvest.
The Mystery of Chlorosis: Why Your Container Vegetables Are Turning Yellow
Welcome, fellow urban gardener! There’s nothing quite as disheartening as stepping out onto your balcony or patio, full of anticipation for your thriving container garden, only to see those vibrant green leaves fading to a sickly yellow. If you’re dealing with yellowing leaves on container vegetables, you are certainly not alone. This is one of the most frequent challenges faced by gardeners, especially those growing in pots.
The technical term for this yellowing is chlorosis. It occurs when the plant is unable to produce enough chlorophyll, the green pigment essential for photosynthesis. Chlorophyll is the engine of your plant, converting sunlight into the energy it needs to grow, flower, and produce vegetables. When that engine sputters, the leaves turn yellow, and the plant’s health and yield suffer.
The key to solving this mystery is understanding that yellow leaves are a symptom, not the disease itself. By becoming a plant detective and observing the pattern of the yellowing, you can quickly pinpoint the underlying cause and apply the right fix. Don't panic—almost every case of chlorosis is reversible with a little knowledge and care!
Diagnosing the Problem: A Leaf-by-Leaf Guide
Before you reach for a fertilizer or a pest spray, take a moment to observe your plant closely. The location and pattern of the yellowing are crucial clues that will help you diagnose the exact issue.
1. Location: Old Leaves vs. New Leaves
The first and most important distinction is whether the yellowing is appearing on the older, lower leaves or the newer, upper leaves.
Yellowing on Older, Lower Leaves
If the oldest leaves at the bottom of the plant are turning yellow first, the problem is likely a mobile nutrient deficiency. "Mobile" means the plant can move this nutrient from old growth to new growth to prioritize survival.
- Most Common Cause: Nitrogen Deficiency. Nitrogen is vital for overall green growth. When it's scarce, the plant sacrifices older leaves to feed the new ones. The yellowing often starts at the leaf tip and moves inward in a "V" shape.
- Other Possibilities: Magnesium or Phosphorus deficiency (less common to show as pure yellowing).
Yellowing on Newer, Upper Leaves
If the newest leaves at the top of the plant are showing yellowing first, the problem is likely an immobile nutrient deficiency. "Immobile" means the plant cannot move this nutrient from old growth to new growth.
- Most Common Cause: Iron Deficiency. Iron is essential for chlorophyll production. The new leaves will often show interveinal chlorosis, meaning the tissue between the veins turns yellow while the veins themselves remain green.
- Other Possibilities: Sulfur, Zinc, or Manganese deficiency.
2. Pattern: Uniform Yellowing vs. Interveinal Chlorosis
The pattern of the yellowing on the leaf itself provides the next set of clues.
Uniform Yellowing Across the Entire Leaf
If the entire leaf, including the veins, is turning yellow, the cause is often related to water or overall root health.
- Watering Issues: Both overwatering and underwatering can cause uniform yellowing. Overwatering is the most common culprit in container gardening, as it suffocates the roots and prevents them from taking up nutrients.
- Root Bound: If the plant has been in the same pot for a long time, the roots may be circling and choking themselves, leading to poor nutrient and water uptake.
Interveinal Chlorosis (Yellow Tissue, Green Veins)
As mentioned above, this pattern is the classic sign of an immobile nutrient deficiency, most often Iron or Manganese.
Top 5 Causes and Actionable Fixes for Yellowing Leaves
Once you've made your initial diagnosis, it's time to apply the fix. Here are the five most common reasons you might be seeing yellowing leaves on container vegetables and the practical steps to take.
Cause 1: The #1 Culprit—Watering Woes
In container gardening, overwatering is the single most common cause of yellow leaves. When the soil is constantly saturated, the air pockets are filled with water, and the roots essentially drown. Without oxygen, the roots cannot function, and they stop absorbing nutrients, leading to chlorosis. Conversely, severe underwatering causes the plant to shed older leaves to conserve moisture.
The Fix: Master the Moisture Check
- The Finger Test: Stick your index finger about two inches deep into the soil. If it feels wet, do not water. If it feels dry, it's time to water thoroughly until it drains from the bottom.
- Check Drainage: Ensure your containers have adequate drainage holes. If they are blocked, clear them immediately. If the pot is sitting in a saucer, empty the saucer 30 minutes after watering to prevent the roots from sitting in standing water.
- Use the Right Potting Mix: Always use a high-quality, well-draining container potting mix, not garden soil. Container mixes contain perlite or vermiculite to ensure good aeration.
Cause 2: Nutrient Deficiencies (The Hunger Games)
As your container vegetables grow, they rapidly deplete the limited supply of nutrients in the potting mix. The most common deficiencies that cause yellowing are Nitrogen, Iron, and Magnesium.
The Fix: Targeted Feeding
- Nitrogen Deficiency (Old Leaves Yellowing): Apply a balanced, water-soluble liquid fertilizer with a higher first number (N-P-K ratio, e.g., 10-5-5). For a quick boost, a diluted application of fish emulsion or a nitrogen-rich organic amendment can green up the leaves within a week.
- Iron Deficiency (New Leaves Interveinal Yellowing): Iron is often present in the soil but unavailable due to high soil pH (too alkaline). Use a chelated iron supplement, which is formulated to be easily absorbed by the plant. You can also try a foliar spray for a very fast, temporary fix.
- Magnesium Deficiency (Old Leaves Interveinal Yellowing, often with purple edges): Apply Epsom salts (magnesium sulfate) as a foliar spray (1 tablespoon per gallon of water) or mix it into the soil. Magnesium is crucial for chlorophyll production.
Product Recommendation Tip: Look for slow-release granular fertilizers to mix into your soil at planting time, and keep a water-soluble liquid fertilizer on hand for quick, targeted feeding during the growing season.
Cause 3: Pests and Diseases
Tiny pests can suck the life and chlorophyll right out of your leaves, causing them to turn yellow. Diseases, particularly fungal ones, can also cause yellow spots or patches that spread.
The Fix: Inspection and Integrated Pest Management
- Inspect Closely: Turn the leaves over and look for tiny insects like spider mites (fine webbing), aphids (small clusters of green or black bugs), or whiteflies. For diseases, look for spots, powdery residue, or fuzzy growth.
- Pest Control: For minor infestations, a strong blast of water or a wipe-down with a damp cloth can work. For more serious issues, use an organic insecticidal soap or neem oil spray, ensuring you cover the undersides of the leaves.
- Disease Control: Remove and discard any severely affected leaves immediately to prevent spread. Ensure good air circulation around your plants by spacing them out. For fungal issues, a copper-based fungicide can be used as a last resort, but prevention through proper watering and spacing is best.
Cause 4: Environmental Stress (Light and Temperature)
Container vegetables are more susceptible to environmental swings than in-ground plants. Extreme heat, cold, or insufficient light can all trigger yellowing.
The Fix: Relocation and Protection
- Light: Most vegetables need 6-8 hours of direct sunlight. If your plant is yellowing and in a shady spot, move it to a sunnier location. If it's getting too much intense, scorching afternoon sun, consider moving it to a spot with filtered light during the hottest part of the day.
- Temperature: Sudden cold snaps or prolonged heat waves can stress plants. Use a light-colored container to reflect heat, or group pots together to create a microclimate that offers some insulation against temperature extremes.
Cause 5: Root Bound and Pot Size
If your plant has been in the same pot for months or even a full season, the roots may have completely filled the container, leaving no room for soil, water, or nutrient uptake. This is a common cause of yellowing leaves on container vegetables that seems to defy all other treatments.
The Fix: Repotting or Root Pruning
- Check the Roots: Gently slide the plant out of its container. If the roots are tightly matted and circling the pot, it is root-bound.
- Repot: Move the plant to a container that is 2-4 inches wider in diameter than the current one. Loosen the circling roots before placing it in the new pot with fresh potting mix.
- Root Pruning (for very large plants): If you cannot move to a larger pot, you can prune the roots. Remove the plant, cut away about one-third of the outer root mass, and repot it into the same container with fresh soil. This stimulates new, healthy root growth.
Common Mistakes to Avoid When Treating Yellow Leaves
As you work to revive your plants, it’s important to avoid a few common pitfalls that can make the problem worse.
- Mistake 1: Over-Fertilizing: Seeing yellow leaves often makes gardeners think "more fertilizer!" However, too much fertilizer, especially nitrogen, can burn the roots and cause a condition called "fertilizer burn," which also leads to yellowing and browning. Always follow the package directions and start with a half-strength dose.
- Mistake 2: Assuming All Yellow is Nitrogen: Don't automatically assume a nitrogen deficiency. If you apply nitrogen when the plant is actually suffering from overwatering or an iron deficiency, you will not solve the problem and may create new ones. Use the leaf-by-leaf diagnosis guide first.
- Mistake 3: Ignoring Soil pH: Nutrient availability is highly dependent on soil pH. Most vegetables prefer a slightly acidic to neutral pH (6.0 to 7.0). If your soil is too alkaline (high pH), nutrients like iron and manganese become "locked up" and unavailable to the plant, even if they are present in the soil. A simple soil test kit can confirm this.
- Mistake 4: Using Garden Soil in Containers: Garden soil compacts easily in a pot, leading to poor drainage and root suffocation (Cause 1). Always use a specialized, lightweight container potting mix.
The Path to Vibrant Green: Your Next Steps
Dealing with yellowing leaves on container vegetables is a rite of passage for every container gardener. The key is to be patient, observant, and systematic in your approach.
- Observe: Use the diagnostic guide to determine if the yellowing is old vs. new leaves, and uniform vs. interveinal.
- Correct: Start with the most likely cause (usually watering) and make one change at a time.
- Wait: Give your plant 5-7 days to respond to the change before trying a new fix. New growth will be the best indicator of success.
Remember, a healthy container garden is a happy container garden. By understanding the language of your plants—and yellow leaves are definitely a loud message—you can ensure a season full of lush, green foliage and a delicious, abundant harvest.
Ready to Plan Your Best Garden Yet?
Now that you've got your plants on the path to recovery, it's time to optimize your entire growing space. The best way to prevent issues like yellowing leaves on container vegetables is through proactive planning.
We encourage you to use the Urban Grow Planner tool! This free resource helps you track your planting dates, watering schedule, and feeding regimen, making it easy to spot potential problems before they start. Click here to start planning your perfect urban oasis today and keep those leaves beautifully green!
Related Articles
How To Start Urban Farming For Beginners
Ready to grow your own food? Learn how to start urban farming for beginners with this comprehensive guide on planning, small-space techniques, essential equipment, and common mistakes to avoid.
Balcony Garden Ideas For Beginners
Discover the ultimate balcony garden ideas for beginners! Learn how to maximize small spaces with vertical gardening, choose the best easy-to-grow plants, and avoid common mistakes. Start your urban oasis today!
Container Gardening For Beginners Step By Step
Start your urban garden with this step-by-step guide to container gardening for beginners. Learn about choosing pots, soil, plants, watering, and avoiding common mistakes.
How To Grow Vegetables On Apartment Balcony
Learn how to grow vegetables on apartment balcony with this ultimate guide. Get tips on sun, containers, soil, and the best compact crops for a successful urban garden.